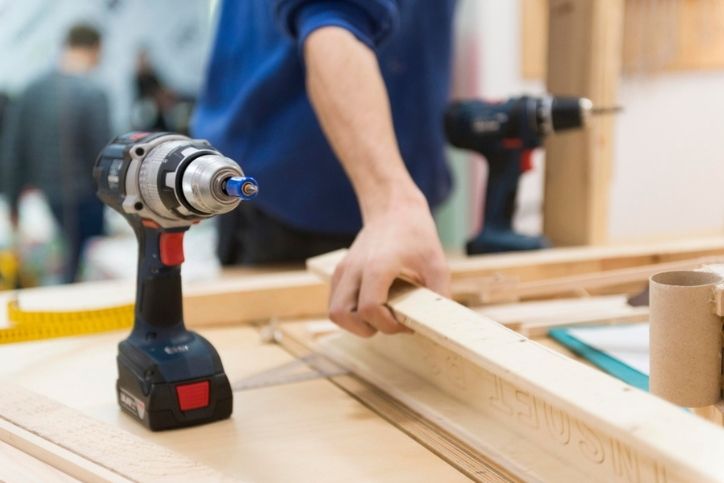
A power drill might seem like one of those tools that only a serious DIY-er needs, but we’re here to tell you it’s something that literally every homeowner (or renter!) should have on hand. Even the most basic power drill can make a huge difference in everyday home tasks, from hanging a mirror (an anchor is your most secure option every time) to assembling furniture (so much faster). We asked contractor Meredith Still, the owner and founder of NYC-based design-build firm The Meredith Project, to walk us through the what’s what of a power drill and how to safely use one.
Buying a Drill
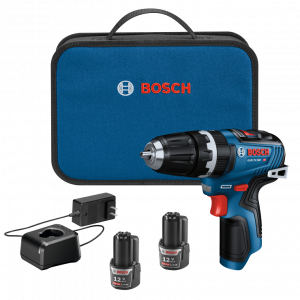
First-time power drill user? Still recommends buying a cordless model, not a corded one. “There’s really no reason to use a plug-in drill,” she tells us. “Technically, it gives you little more power, but a good rechargeable cordless drill will perform just as well.” And you’re free to use it anywhere, without lugging around an extension cord. If you’re planning to use your drill for long stretches at a time, you can easily keep an extra battery pack on hand to switch out.
 The Basics
Your drill should come with a rechargeable battery, a plug-in charger, and, of course, the drill itself. A kit with a handful of basic drill bits (for making holes) and driver bits (for screwing and unscrewing screws) should be fine for household tasks.
The Bits
Drill bit: Drills holes in wood, drywall, plaster, etc.
Driver bit: Drives (aka screwing) screws into hard materials.
Drive guide: A tube-shaped attachment that holds long screws in place and keeps them straight while driving.
Insert bit: For attaching driver bits.